Losing business-critical data is one of the worst things that can happen to any organization. In fact, as much as 60% of businesses that have experienced a data loss incident will most likely shut down within six months.
Nobody likes to think about the consequences of data loss, but you need to be aware of them. This is why every savvy business owner knows how important it is to have a solid backup strategy, complete with stable backup software, and perform regular weekly or even daily backups. In fact, if you know how to choose the best backup software, you won’t have to worry about losing your data ever again.
But with so many backup options out there that promise secure file backup, it can be hard to know which one is ideal for your business. That’s why you need to explore your options, including Synology NAS backup.
How to Run a Synology Backup to Cloud
There are seemingly countless options to choose from when looking at different backup solutions, but NAS cloud storage is definitely a good way to go.
Network-attached storage, or simply NAS, is a device that provides you with a network location in which you can store all of your data on external devices. If you’re not familiar with the concept, we’ve created a guide on everything you need to know about using NAS backup software.
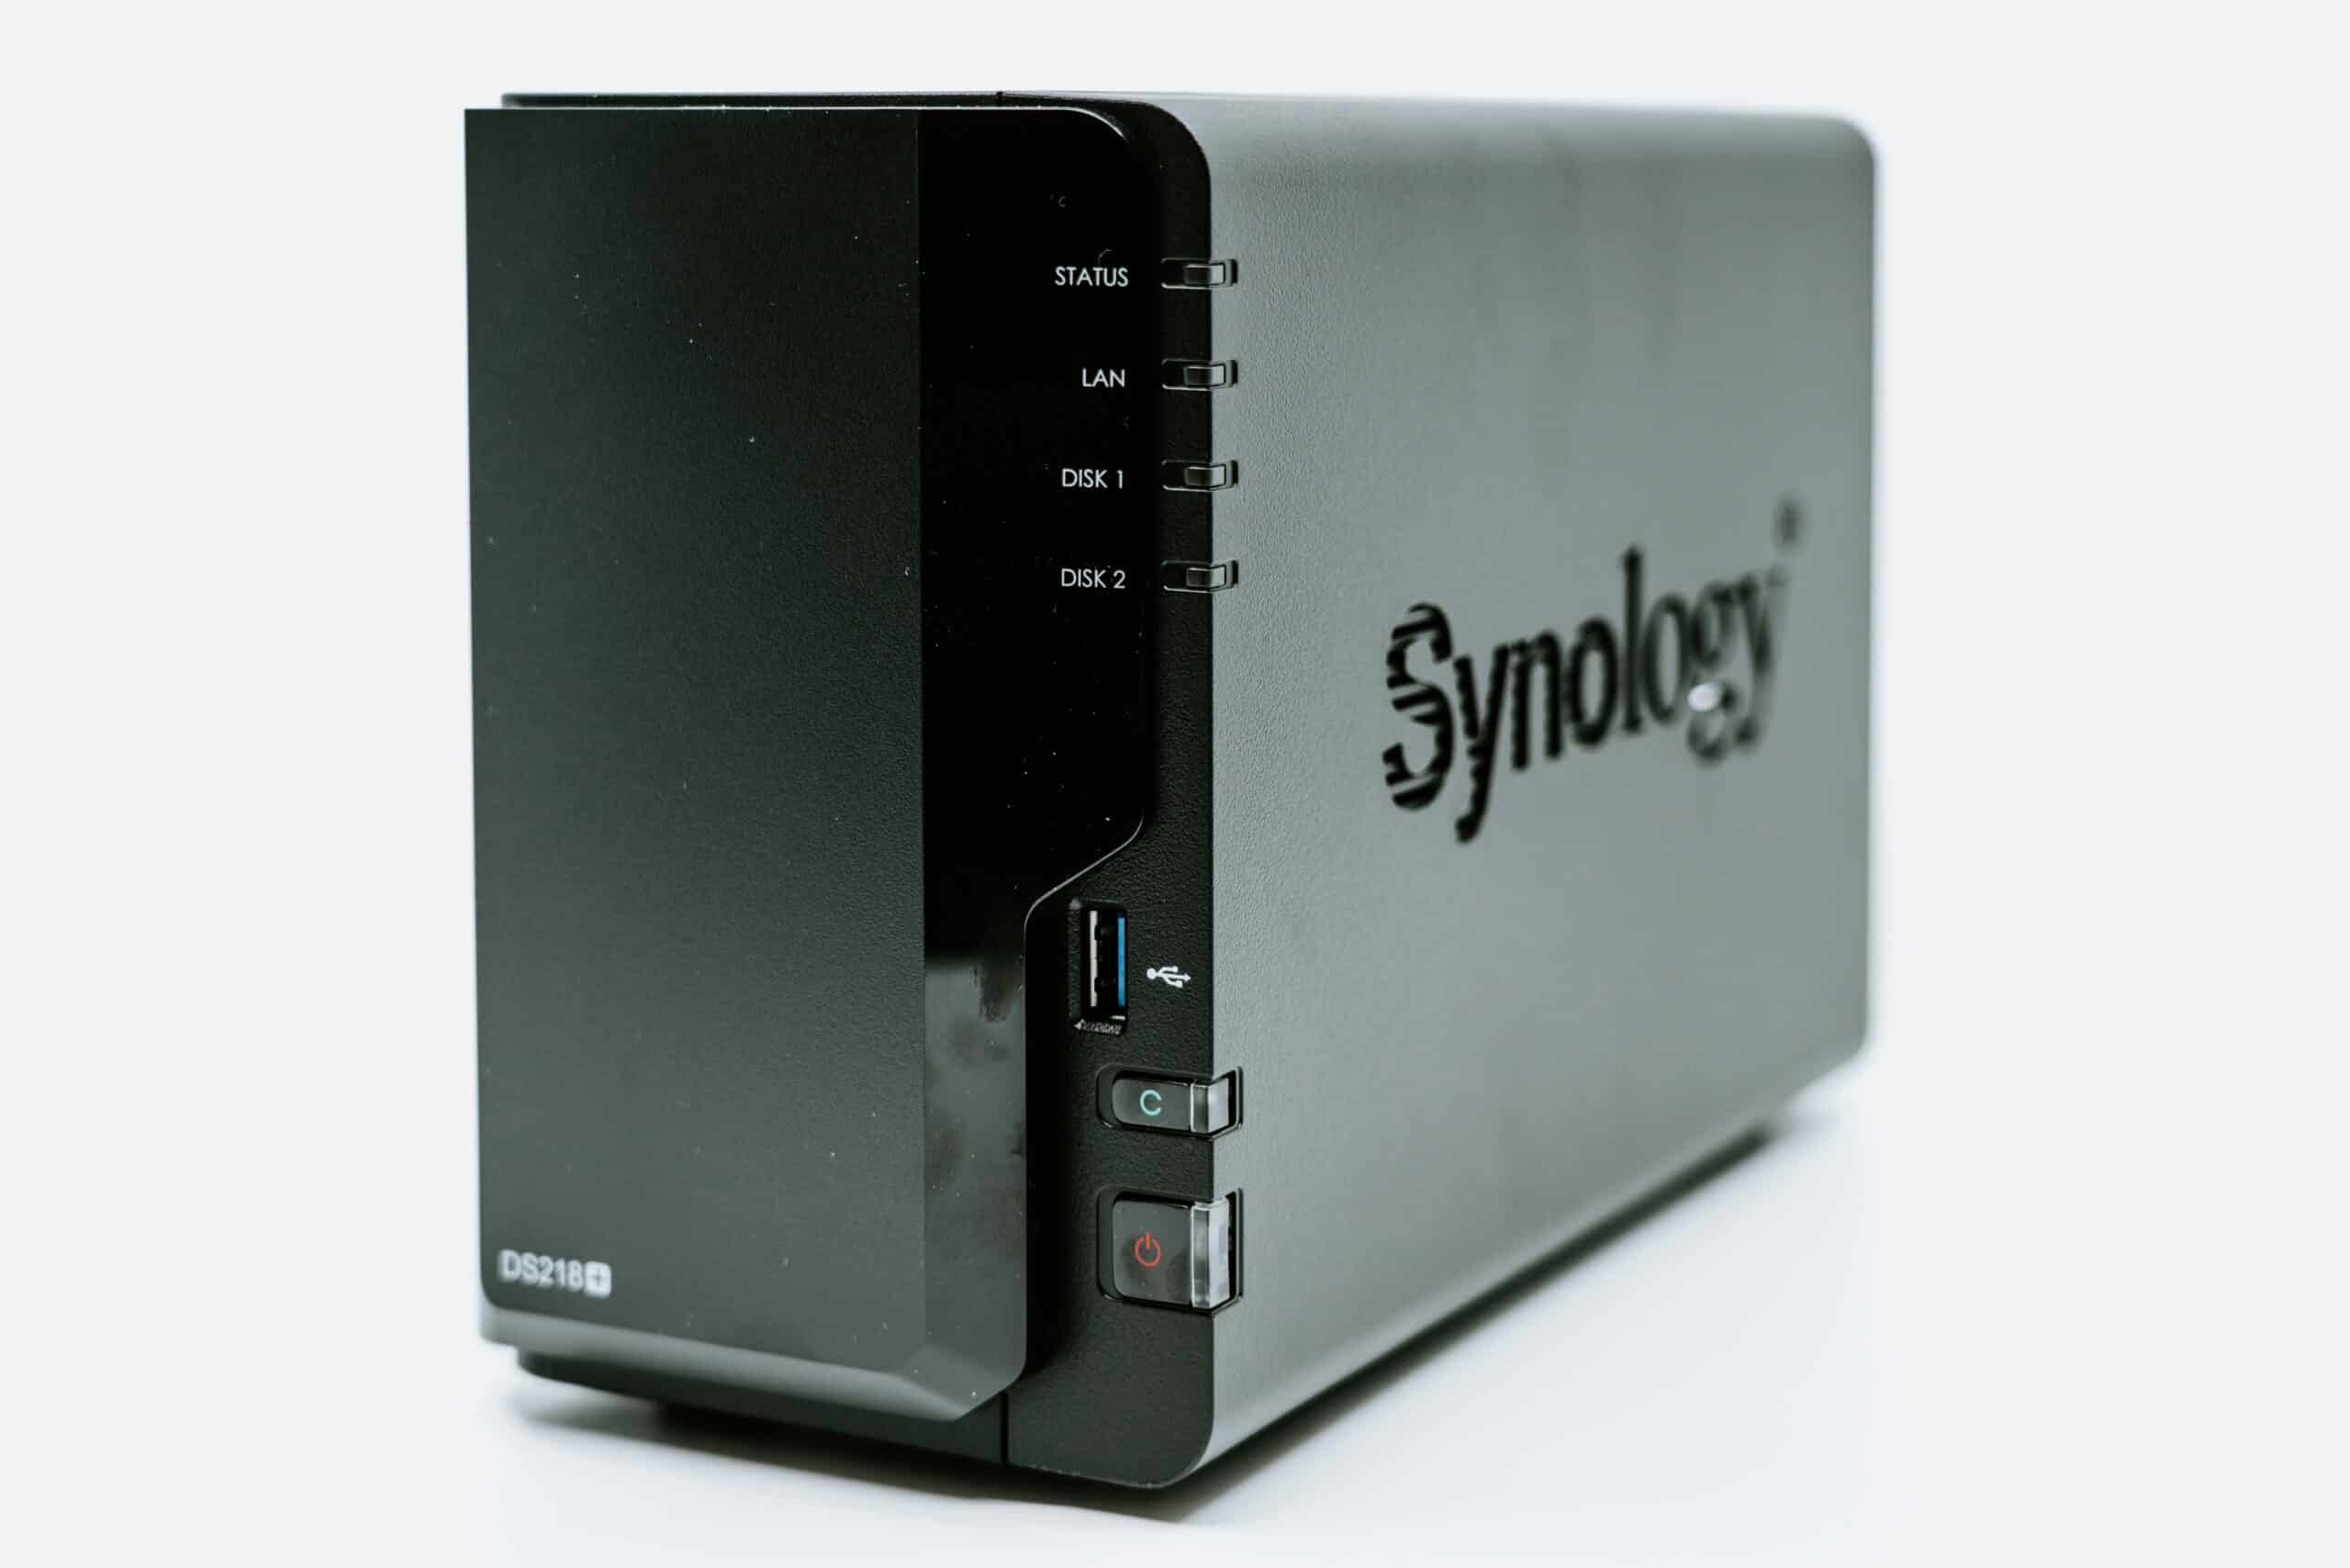
Synology NAS goes one step beyond that and it allows you to create a private cloud that will allow you to store, back up, access, and share all of your data and files.
If you want to do a Synology backup to cloud storage, here is what you need to do:
- Log into your DSM and go to the package center. See if you have downloaded Hyper Backup; if you don’t, make sure to download it.
- From there, you can launch Hyper Backup and click the + icon in the bottom left corner to select the option you need, which is the Data backup task.
- Go to the Synology section and click on Synology C2 Storage and afterward click on Next. You can do this through the Backup Destination menu or a third-party cloud service platform.
- Sign in to your cloud by entering your email address and password.
- Click on Create backup task and choose which folder you want to create the backup in.
From here, you can configure your backup settings by completing the following steps:
- Name your backup task.
- Set up all the task notifications to your liking so you can be notified about the progress.
- Set your bandwidth limitations so you can better allocate the internet resources.
- Turn on automatic scheduled backups and integrity checks.
- Encrypt your data and use a strong password.
Backing up Synology with ElephantDrive
If you want to learn how to use ElephantDrive NAS backup, one of the options you can use is the Synology backup process:
- Find and install the ElephantDrive app in the Synology Package Center.
- Launch and login to the ElephantDrive app on your Synology. If you don’t already have an ElephantDrive account, you will have the option to create one.
- After logging into the ElephantDrive app, click Manage Cloud Backup and you will be taken to our web portal where you can configure and manage backup jobs.
- Begin setup by clicking Get Started and you will be entered into a wizard to help you set up backup jobs. If you exit the wizard or come back later, then please follow these instructions to manually configure a backup job or create a support ticket if you need assistance.
Benefits of Backing Up Synology NAS to Cloud
By choosing to perform your incremental backups on Synology NAS or simply perform your backups on a weekly basis or daily basis, you will see a lot of benefits.
Some of them include:
- Keeping your data safe. Storing your data on cloud storage will ensure you never lose it, even if disaster strikes or you find yourself dealing with a network issue.
- Having accessible backup. A big benefit of Synology NAS storage usage is that you can access your backups and single files from anywhere.
- Security. All private and public cloud services keep your data secure with encryption and key protection. Only you can access your files thanks to this additional layer of protection.
- Automatic backups. Your Synology NAS will automatically perform backups while still saving old backup versions. The backup time will depend on how much data you’re storing, but if you perform your backups on a daily or weekly basis, it shouldn’t take long.
- Storage efficiency and scalability. Your cloud backups will grow with your data. As the size of files gets bigger, your storage will scale.
How to Access Files on Your Synology NAS Drive
You can access the files stored on your Synology NAS drive on your Windows File Explorer or your Mac Finder. But before you can do anything else, you need to enable your SMB.
- Sign into your DSM and launch the Control Panel.
- From there, you need to click on File Services and tick the checkbox that says Enable SMB services. You’ll be able to designate the system as a member of a specific workgroup that is meant for network management.
- To complete this task, click on Apply.
Once you’ve enabled your SMB, you can begin accessing your files. However, the process looks different for users with Windows than those with Mac computers.
Accessing files on Windows devices
Sign into your DSM and open up your computer’s Control Panel. From there, you’re going to click on File Services, tick the checkbox that says Enable SMB services and you’ll be asked to designate your system. You can make it a member of a specific workgroup for network management purposes.
Once you’ve done all of this, you can finish the task by clicking on Apply.
From here, you will be able to access the files on your Synology NAS, and there are two ways you can do this.
- The first is to map the shared folder that’s located on your NAS as a network drive that’s located on your PC.
- The second is to go to your NAS in Network and double-click on it. Or alternatively, type \\ followed by your NAS server name in your File Explorer address bar. By doing this, you will get access to all of the shared folders you have permission to.
When you want to map a network drive, you need to open your File Explorer and click on the following folders in this order:
- This PC
- Computer
- Map network drive
Here you will select the drive letter you are going to use for your network folder. In the folder field, you need to type the \\name of the shared folder you want to map out.
After you’ve done this, you can click on the Finish button which will cause a pop-up window to appear and ask you to enter your DSM network login credentials. Once you’ve entered your username and password, click on OK and the shared folder will appear on your PC.
If you want an alternative way to access your shared folder, you can go to File Explorer and in your address bar type the \\server name of your NAS.
Accessing files on Mac Devices
Go to Finder on your Mac computer, access the Go menu, and click Connect to Server.
A window with the words Connect to Server will appear on your desktop. In it, type smb:/your NAS server name. Click on Connect and once you do that, another pop-up window will appear that will ask for your DSM login credentials, so you will have to enter your email address and password.
Once you’ve entered the credentials, click on Connect. The pop-up window will ask you to select the volumes you want to mount on your server, and here you need to choose Sharing Folder and click OK. Once you’ve done that, your shared folders will appear.
Summary
Using robust cloud services while also implementing key security measures is something every company needs to prioritize. Losing your mission-critical data isn’t something you need to be worried about, but you always need to have a backup plan and perform regular backups.
Synology-based backup might just be what you need. ElephantDrive can provide you with an all-in-one backup appliance that will give you a backup method you will never want to replace. Synology NAS backups make the backup of applications and folders easy, safe, and affordable.
So forget about outdated backup practices and allow yourself to have an enterprise-grade backup solution that works for all businesses, big and small. No matter if you want event-based or scheduled backups, your backup cloud Synology device will have your back.


